
These safari photography tips will help you make the most of the greatest wildlife photography opportunity on earth. Nowhere else can you spend hours with predators at close range, watch the world’s largest land migration from an open vehicle, and photograph lions, elephants, leopards and cheetahs against landscapes of extraordinary scale — all in a single week.
Whether you are a smartphone photographer capturing memories for Instagram or a serious photographer building a wildlife portfolio, the Masai Mara and East Africa’s other great parks will challenge, inspire and reward you.
This guide compiles the most important advice from our guides and from the professional wildlife photographers who work with us across Kenya and Tanzania. It covers gear, technique, light, positioning and the mindset that separates good safari photographs from great ones.
✅ Safari Photography Tips: The Quick Answer
- Light: shoot in the first and last two hours of the day, with the sun behind you or to the side.
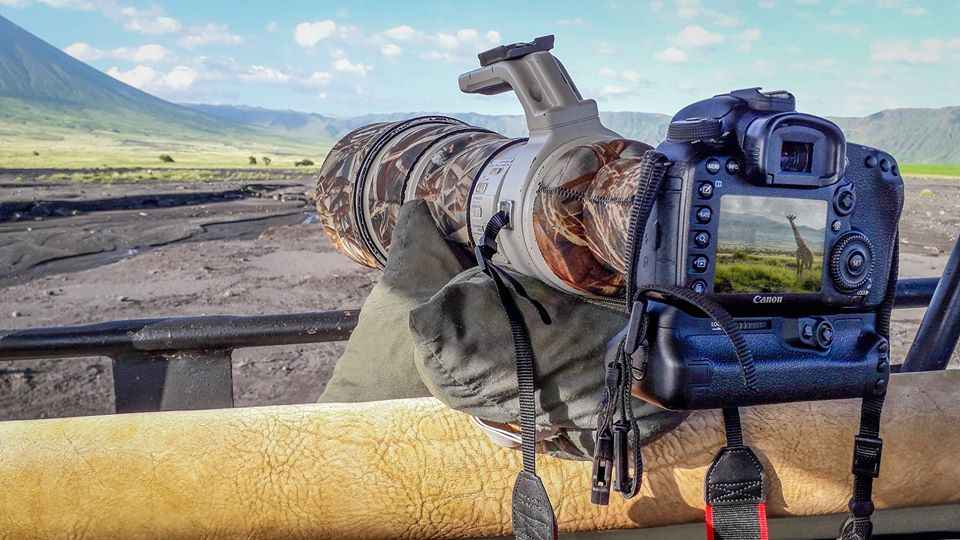
- Lens: a telephoto zoom reaching at least 300mm (full-frame equivalent) covers most situations; 400–600mm is ideal.
- Settings: shutter priority, 1/1000s for action, 1/500s for still subjects, continuous autofocus and burst mode.
- Support: a bean bag on the vehicle roof or window beats a tripod every time.
- Backup: pack spare batteries, several memory cards and a lens blower for dust.
- Best trip: a private or photographic safari; our Big Cats Photographic Safari in the Masai Mara starts from USD 2,600 per person.
Safari Photography Tips: Understanding Light
In wildlife photography, light is everything. The same lion resting under the same acacia tree will produce a forgettable photograph at 11:00 and an extraordinary one at 07:00 — the difference is entirely in the light.
Golden hour in the Masai Mara — the hour after sunrise and the hour before sunset — produces warm, directional light that transforms the grass, the animals and the landscape. The lion’s coat glows amber, the elephant’s wrinkled skin shows depth and texture, and the wildebeest’s flanks catch fire. This is why our game drives begin early.
Key light principles for safari
- Shoot with the sun behind you or to the side — front-lit subjects have the most detail and colour saturation.
- Pre-dawn periods produce beautiful blue-toned light that works well for mood shots and silhouettes.
- Overcast light — common during the green season — eliminates harsh shadows and is excellent for portrait-style animal shots.
- Midday light is harsh and creates unflattering shadows — use this time for landscapes, environmental context shots, or simply resting before the afternoon drive.
- Backlight (sun behind the subject) creates beautiful rim-lighting on fur and grass — particularly effective for cheetah on the open plains and lion in tall grass.
Camera Gear Recommendations
You do not need the most expensive kit to come home with great pictures, but the right focal length makes a big difference. These safari photography tips on gear are grouped by experience level.
For serious wildlife photographers
- Camera body: a full-frame mirrorless or DSLR with strong high-ISO performance (Sony A1, Canon R5, Nikon Z9 or comparable). Wildlife photography at dawn and dusk is demanding on sensors.
- Telephoto lens: a 100–500mm or 200–600mm zoom covers the widest range of safari situations. For open savannah subjects like cheetah and lion, 400–600mm is regularly necessary. A 300mm f/2.8 prime with a 1.4x teleconverter is exceptional for quality and light-gathering but less versatile than a zoom.
- Wide/standard zoom: 24–105mm or 28–70mm for landscape context shots, camp life and environmental portraits of animals in their setting.
For enthusiast and travel photographers
- Any modern mirrorless camera (Sony, Fuji, Canon, Nikon) with a telephoto zoom of at least 300mm equivalent.
- Micro four-thirds systems (OM System, Panasonic) offer excellent reach in compact form — 300mm on MFT is equivalent to 600mm full-frame.
- A bridge camera with a long built-in zoom is a light, affordable alternative.
For smartphone photographers
- A clip-on telephoto lens adapter extends reach. Similar products exist for iPhone and Android.
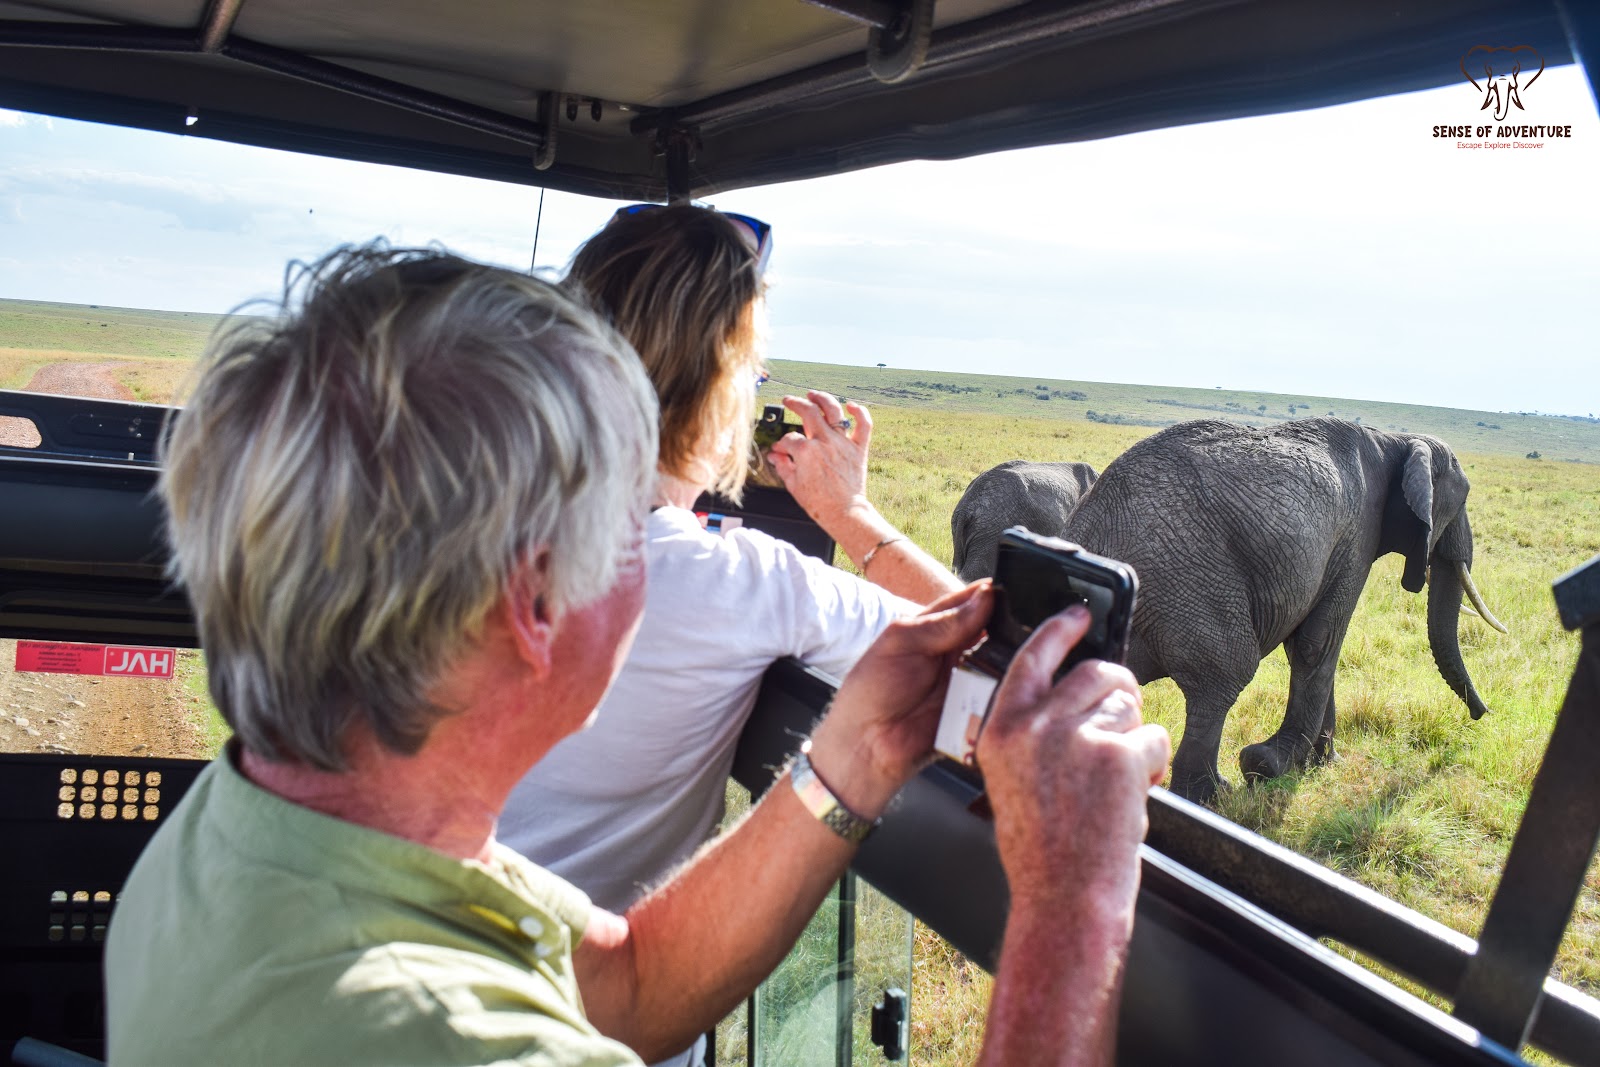
- For anything beyond landscape shots, a dedicated camera with telephoto capability will produce dramatically better results. Consider renting a telephoto lens for your trip rather than buying one.
- Use your phone for wide scenes, video and camp life, where it often excels.
For a full gear list, see our camera gear checklist for a Kenya safari.
Essential Safari Photography Accessories
- Bean bag: the single most important accessory for game-drive photography. Rested on the door frame or roof rail of a vehicle, a bean bag provides a stable, vibration-absorbing platform far better than a tripod in a vehicle. Buy a travel bean bag (empty, to be filled with rice or beans at your destination) rather than carrying a heavy filled one.
- Spare batteries (at least two per body): cold early mornings, continuous shooting and full days of use drain batteries fast.
- Multiple high-capacity memory cards: a river crossing can produce hundreds of shots in minutes. Carry several 128GB or 256GB cards, formatted and ready.
- Lens cleaning kit: dust is everywhere on safari tracks. A lens blower, lens pen and clean microfibre cloth are used constantly.
- Dust protection bag: a resealable bag large enough for your camera body protects it when you are not shooting.
- Polarising filter: reduces glare, deepens sky blue and improves colour saturation — useful for water and landscape shots.
- Portable power bank: for charging during full-day game drives away from camp power.
Technique: How to Get Sharp Wildlife Images
Most blurred safari pictures come down to shutter speed and focus, not the camera itself. These technical safari photography tips fix the most common problems.
Shutter speed is your friend: to freeze animal movement, use at least 1/1000s for moving subjects such as running predators and birds in flight. For stationary subjects, 1/500s is usually enough. Use shutter priority mode (Tv or S), set your target shutter speed and let the camera manage aperture and ISO.
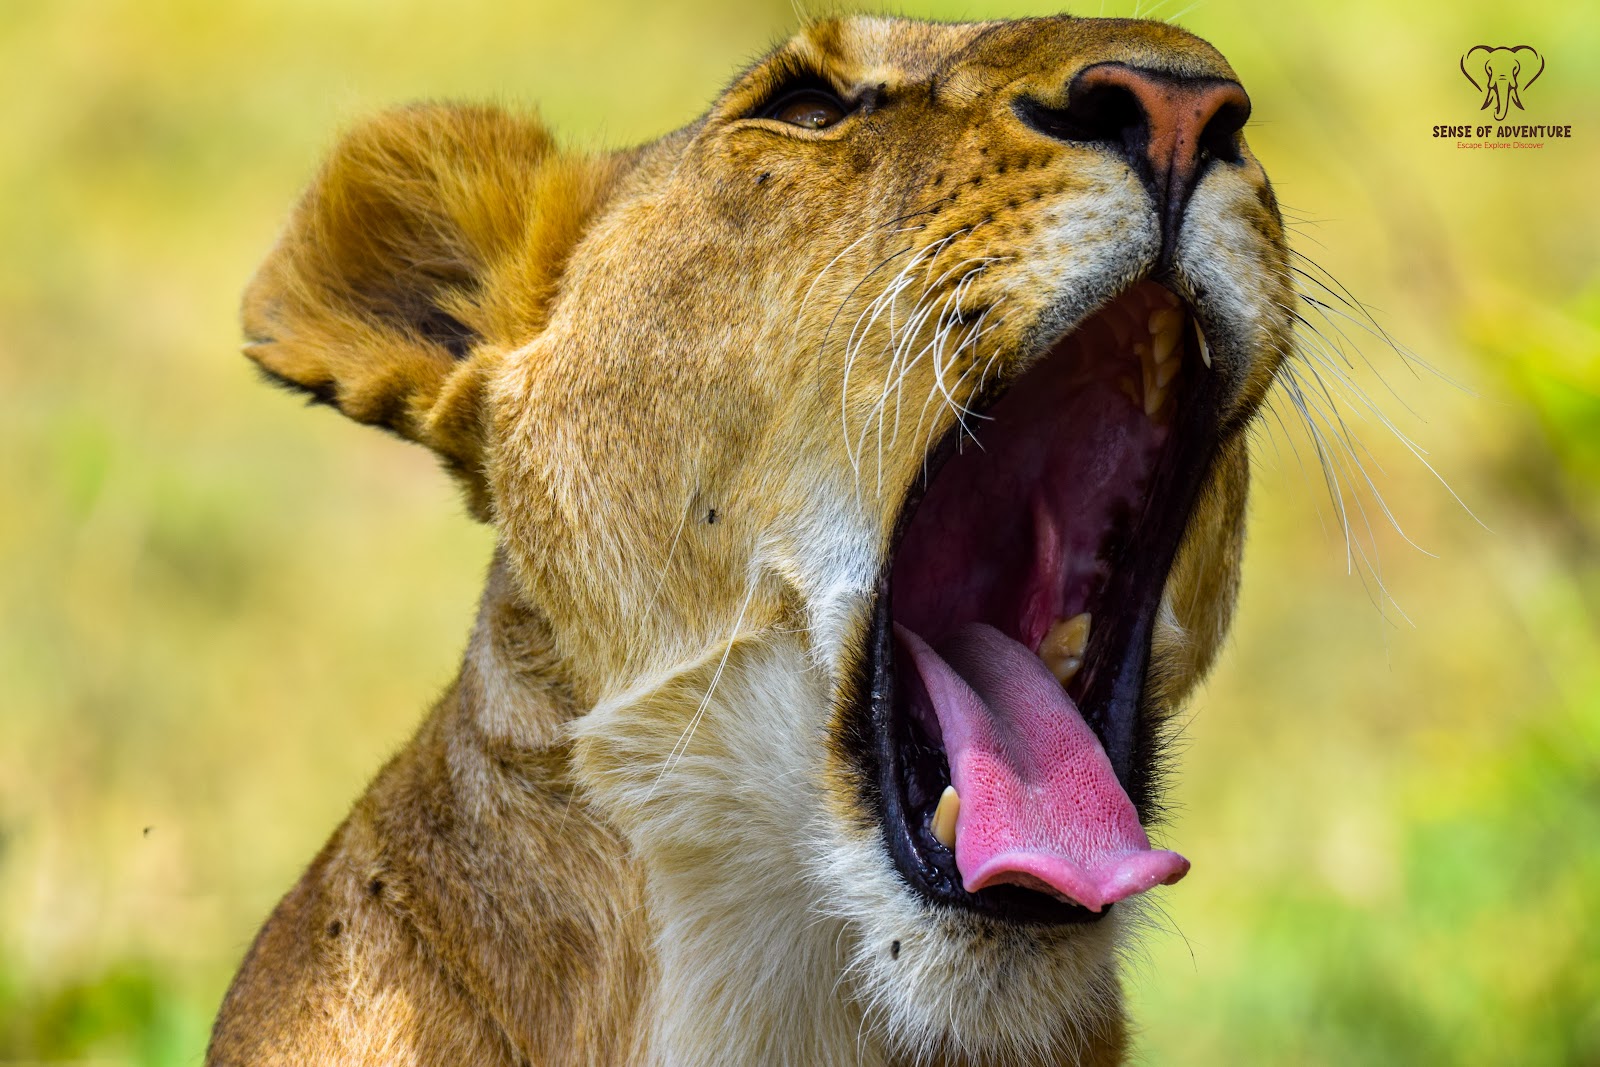
Burst mode: animals move unpredictably. Shoot in high-speed burst mode during any action — a running cheetah, a lion yawning, a bird landing — and pick the peak moment later.
Autofocus: use continuous autofocus (AI Servo on Canon, AF-C on Sony and Nikon) for moving subjects. Modern eye-tracking autofocus is extraordinarily effective for wildlife — if your camera has it, use it.
Expose for the subject: bright skies and dark shadows can fool your camera’s metering. Expose for your subject’s face or eye and sacrifice the background if necessary. Check the histogram so that highlights are not blown.
Quick camera settings cheat sheet
- Resting animals: 1/500s, wide aperture, single-point or animal-eye autofocus.
- Running animals and birds in flight: 1/2000s or faster, continuous autofocus, burst mode.
- Low light at dawn and dusk: raise the ISO rather than dropping below about 1/250s.
- Landscapes: f/8 to f/11 for front-to-back sharpness.
- Panning shots: try 1/30s to 1/60s and follow the animal smoothly to blur the background.
Shoot in RAW if your camera allows it. RAW files keep far more detail in bright skies and dark shadows, which makes a huge difference when editing safari images.
Composition Safari Photography Tips
Sharp pictures are only the start. Composition is what makes a photograph memorable, and these safari photography tips work with any camera, including a phone.
- Get to eye level: where vehicles allow, shooting from a lower window rather than the roof gives a more intimate perspective.
- Leave space: give animals room to look or move into the frame.
- Focus on the eyes: a sharp eye is essential in almost every animal portrait.
- Tell a story: include the landscape, other animals or weather to show context.
- Watch the background: a small change in vehicle position can remove a distracting branch or another vehicle.
- Vary your shots: mix tight portraits, behaviour, wide scenes and details such as paws or feathers.
Photographing the Big Five and big cats
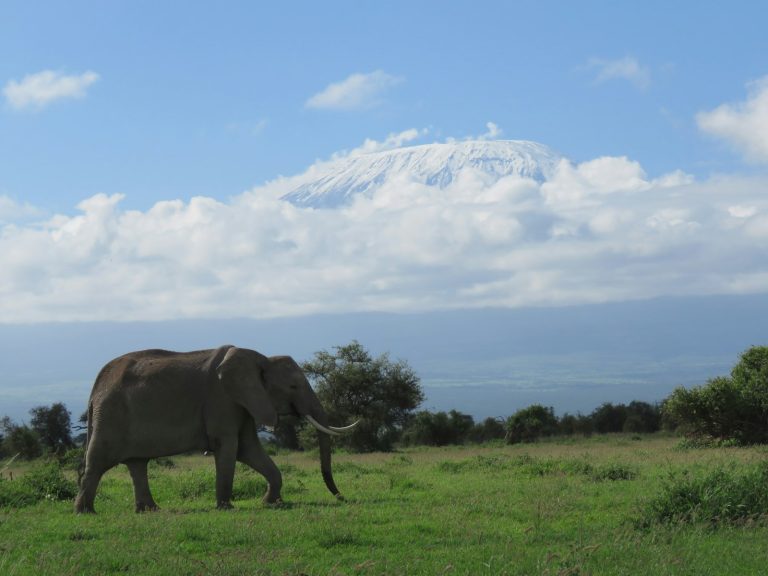
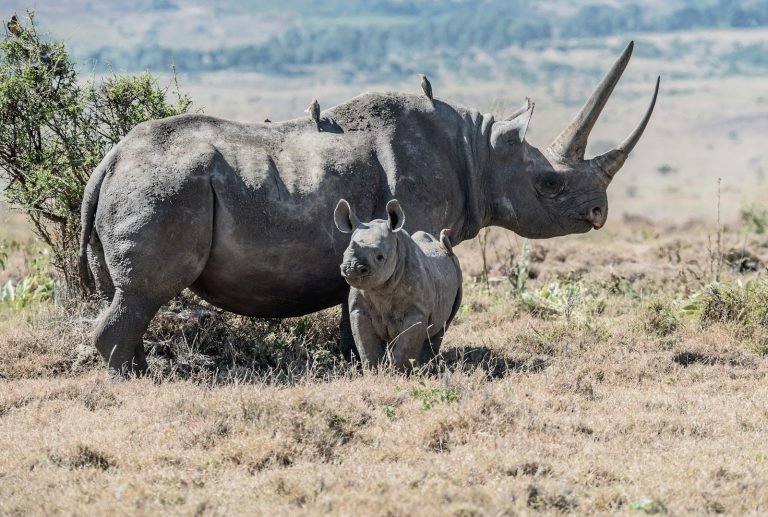
Lions are often resting, so wait for activity around dawn and dusk. Leopards are best photographed in trees, where the branches frame them; patience is essential. Cheetahs hunt in daylight, so position early with good light if your guide spots one scanning the plains. Elephants make great subjects at waterholes and with Kilimanjaro behind them in Amboseli.
Mindset and Patience: The Most Important Skill
The best safari photographs come from patience — not from rushing to the next sighting. Staying with a subject for thirty minutes produces far better images than visiting fifteen subjects for two minutes each.
Watch what is happening, anticipate behaviour and position your vehicle for the best light before the action starts. The photographers who return from the Masai Mara with exceptional images are those who sat with a cheetah for an hour, reading its body language, rather than those who drove around ticking off species.
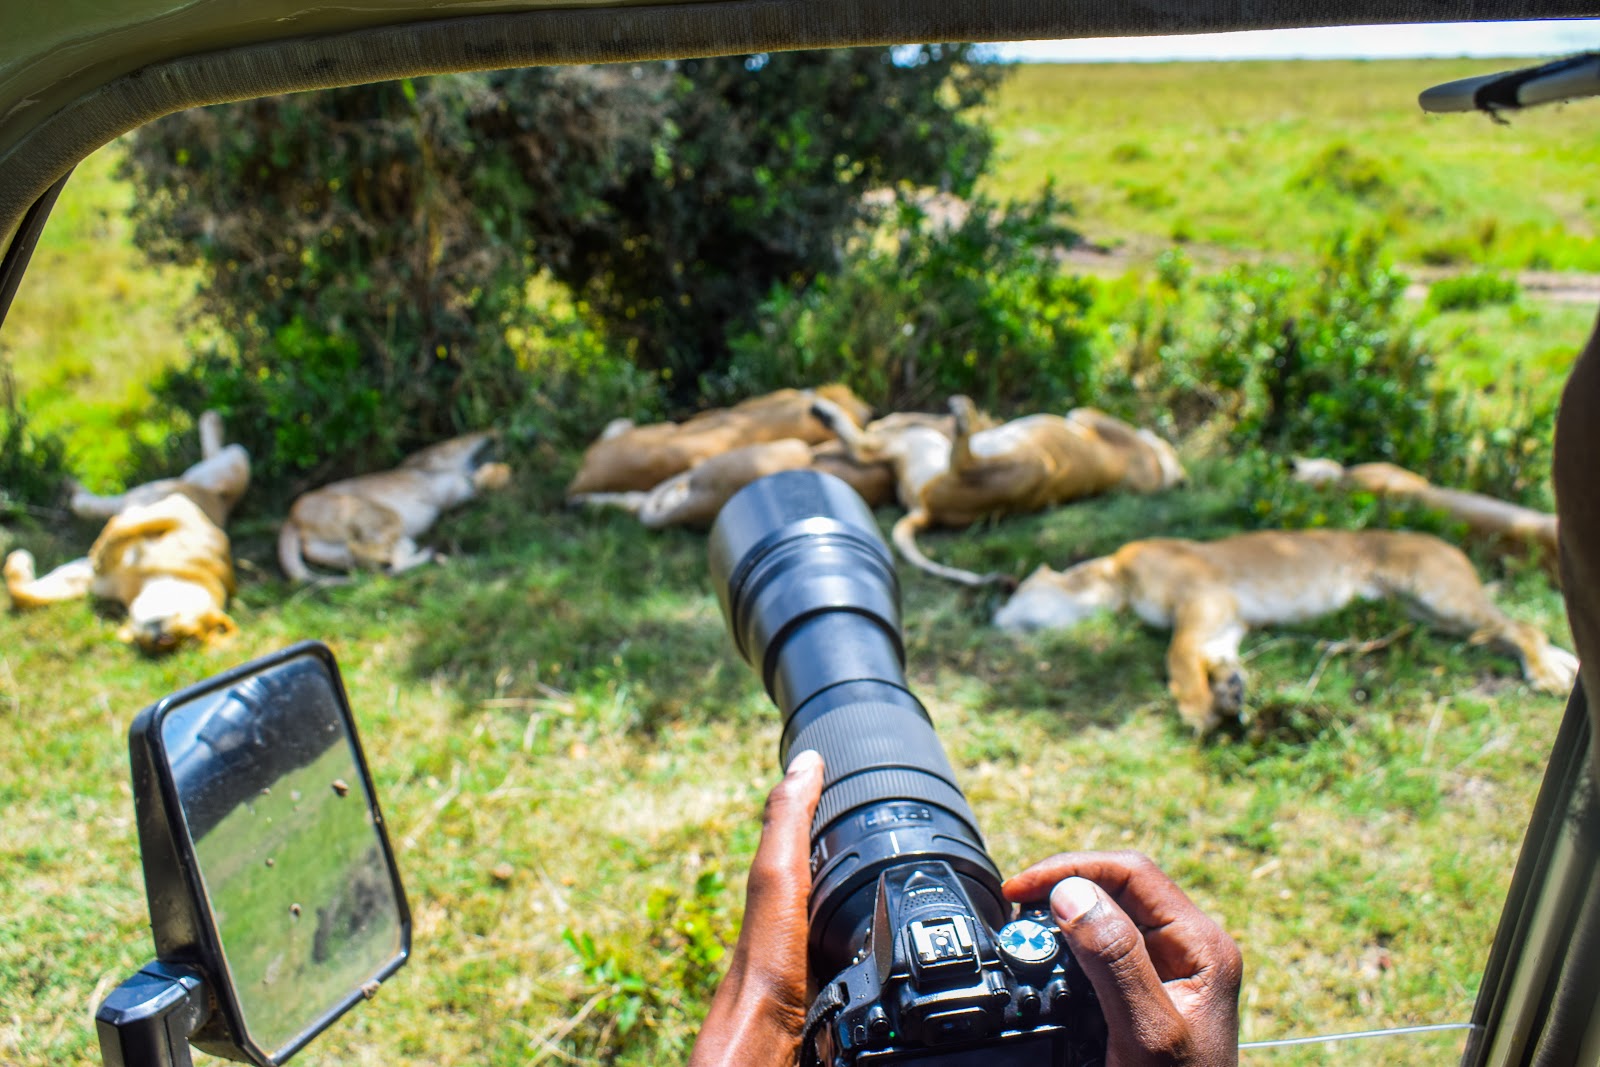
Our guides are skilled at reading animal behaviour and can usually anticipate what a predator will do next, positioning the vehicle accordingly. Work with your guide: tell them what you are trying to photograph and they will help you achieve it.
Private vehicles make a real difference
Of all the safari photography tips in this guide, this may be the most valuable: if photography matters to you, book a private vehicle. You control how long you stay at a sighting, where the vehicle is positioned and when you leave for the best light. Read more about our private Kenya safari options.
Ethical Wildlife Photography
Great pictures should never come at the expense of the animals. The most important safari photography tips are really about respect, so follow these rules on every drive:
- Never ask your guide to drive off-road where it is not permitted, or to crowd an animal.
- Keep noise down and never call out or bang the vehicle to make an animal look up.
- Do not use flash on wildlife, especially at night.
- Give hunting predators space; disturbing a hunt can cost them a meal.
- Ask permission before photographing people, and respect a no.
Drones are not allowed in Kenya’s national parks and reserves without official authorisation, so leave yours at home unless you have the right permits. Check the latest rules with the Kenya Wildlife Service and read our guide to drone rules in Kenya’s national parks.
Caring for Your Gear on Safari
Dust, heat and bumpy roads are hard on equipment. Keep your camera in a padded bag on your lap or the seat rather than on the floor, and change lenses inside the vehicle with the windows closed or with your back to the wind.
Simple safari photography tips for kit care can save a trip: keep a lens cloth in your pocket, close your bag between sightings and wipe the vehicle’s roof rail before resting your lens on it.
Back up your images every evening to a laptop, tablet or portable drive. Most camps have charging points, but some only provide power at set times, so charge batteries whenever you can.
Best Places and Seasons for Safari Photography
Different parks offer different photography strengths. Amboseli is unparalleled for elephants with Kilimanjaro. The Masai Mara delivers some of the best predator encounters in Africa. Samburu offers dramatic light in its dry red-rock landscape.
When to go
Timing is one of the most overlooked safari photography tips. The dry season from July to October brings the Great Migration river crossings to the Mara and easy sightings everywhere. The green season brings lush backdrops, dramatic skies, newborn animals and fewer vehicles at sightings. Read our Kenya weather by month guide before choosing dates.
Photographic safaris we run
- Big Cats Photographic Safari – Masai Mara (6 Days): from USD 2,600 per person.
- Photographic Safari – Masai Mara & Great Rift (6 Days): from USD 2,200 per person.
- Amboseli Elephant Photographic Safari (4 Days): from USD 1,800 per person.
Talk to our team about a photography-focused itinerary that puts you in the right park at the right season for the specific images you want to make.
Safari Photography Tips: Frequently Asked Questions
What is the best lens for an African safari?
A telephoto zoom such as a 100–400mm, 100–500mm or 200–600mm is the most useful lens on safari, because it covers both nearby elephants and distant cats. Pair it with a wide or standard zoom for landscapes and camp life. If you only take one lens, choose the telephoto zoom.
Do I need a tripod on safari?
Usually not. Tripods are awkward in a game vehicle and pick up vibration from the engine and other passengers. A bean bag resting on the window or roof is far more practical. A small travel tripod is only worth bringing for night-sky photography or landscapes at camp.
Can I take good safari photos with a phone?
Yes, for landscapes, close sightings, video and camp life. Modern phones handle wide scenes well, but they struggle with distant animals, low light and fast action. Many travellers carry a phone for wide shots and a compact camera or bridge camera with a long zoom for wildlife.
What camera settings are best for wildlife?
Start in shutter priority with 1/1000s for moving animals and 1/500s for still ones, auto ISO, continuous autofocus and burst mode. Expose for the animal rather than the sky. In low light, raise the ISO before lowering the shutter speed, as a sharp, slightly noisy image beats a blurred one.
When is the best time of day for safari photography?
The first two hours after sunrise and the last two before sunset give the warmest, softest light and the most animal activity. Midday light is harsh, so use it for rest, editing or backing up images. Overcast days in the green season are also excellent for portraits.
Ready to put these safari photography tips into practice? Tell us what you would love to photograph and we will plan the route, season and vehicle to match. For more inspiration on Kenya’s parks, visit Magical Kenya, the official tourism board website.
💬 WhatsApp Us — Plan Your Safari Today
Call or WhatsApp: +254 799 160 081