Masai Mara photography has filled more wildlife portfolios than almost anywhere else on earth. Few destinations combine this predator density with open sightlines, drivable light angles and subjects habituated enough to ignore you. But the difference between snapshots and portfolio frames isn’t the camera — it’s fieldcraft: being parked in position before the light peaks, knowing which sightings will develop and which won’t, and having a driver who thinks in backgrounds.
That last part is ours. Sense of Adventure photographic departures use guides trained to position for light first, and this guide shares the approach so every guest shoots better, whatever the gear. Below you will find timings, settings, gear, hotspots, seasons, rules and packages for Masai Mara photography.
✅ Masai Mara Photography Quick Answer
- Best light: about 6:15–9:00 am and 4:30–6:45 pm; use the midday glare for travel or rest.
- Key lens: a 100–400 mm or 150–600 mm zoom, plus a 24–70 mm for wide scenes.
- Support: a beanbag on the window or roof rail, not a tripod.
- Best seasons: July to October for river crossings; November to May for storm skies, green grass and empty sightings.
- From: our Great Migration Photographic Safari starts at USD 2,400 per person and our Big Cats Photographic Safari at USD 2,600.
Shoot the Mara With Photographers in Mind
Beanbags, charging inverters, sighting patience and drivers who position for backgrounds. Ask about photo-focused departures.
How Masai Mara Photography Days Actually Work
Photographic success in the Mara is scheduled around two golden windows: roughly 6:15-9:00 am and 4:30-6:45 pm, when equatorial light turns warm and side-lit. Photo-focused days leave camp in the dark to reach cats before sunrise, hold sightings for an hour-plus rather than racing a checklist, and treat harsh midday for travel, hides or rest.
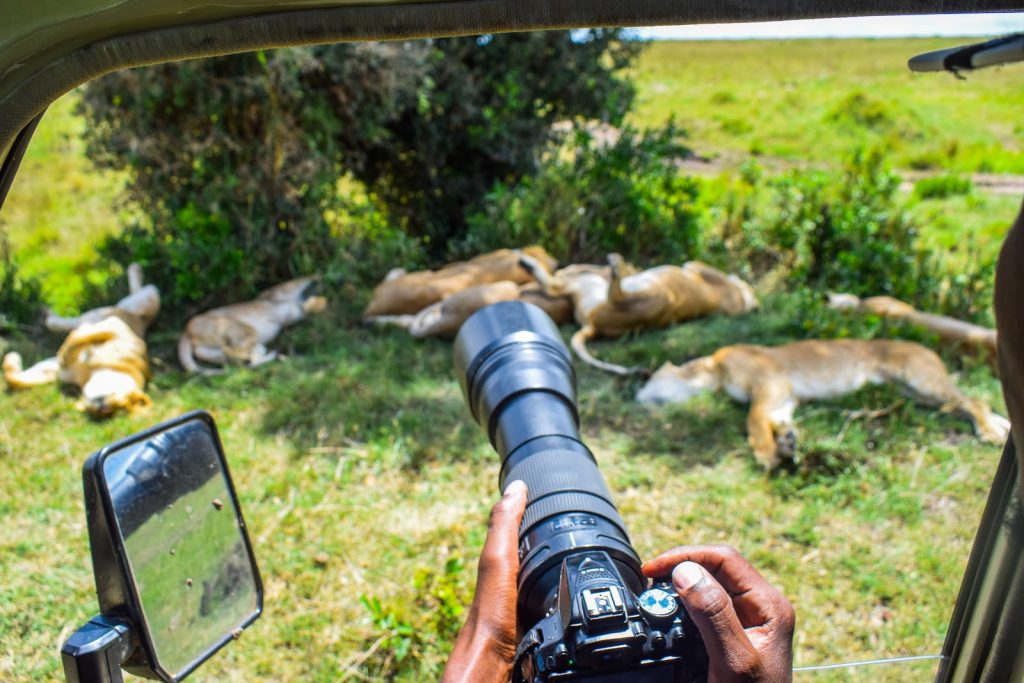
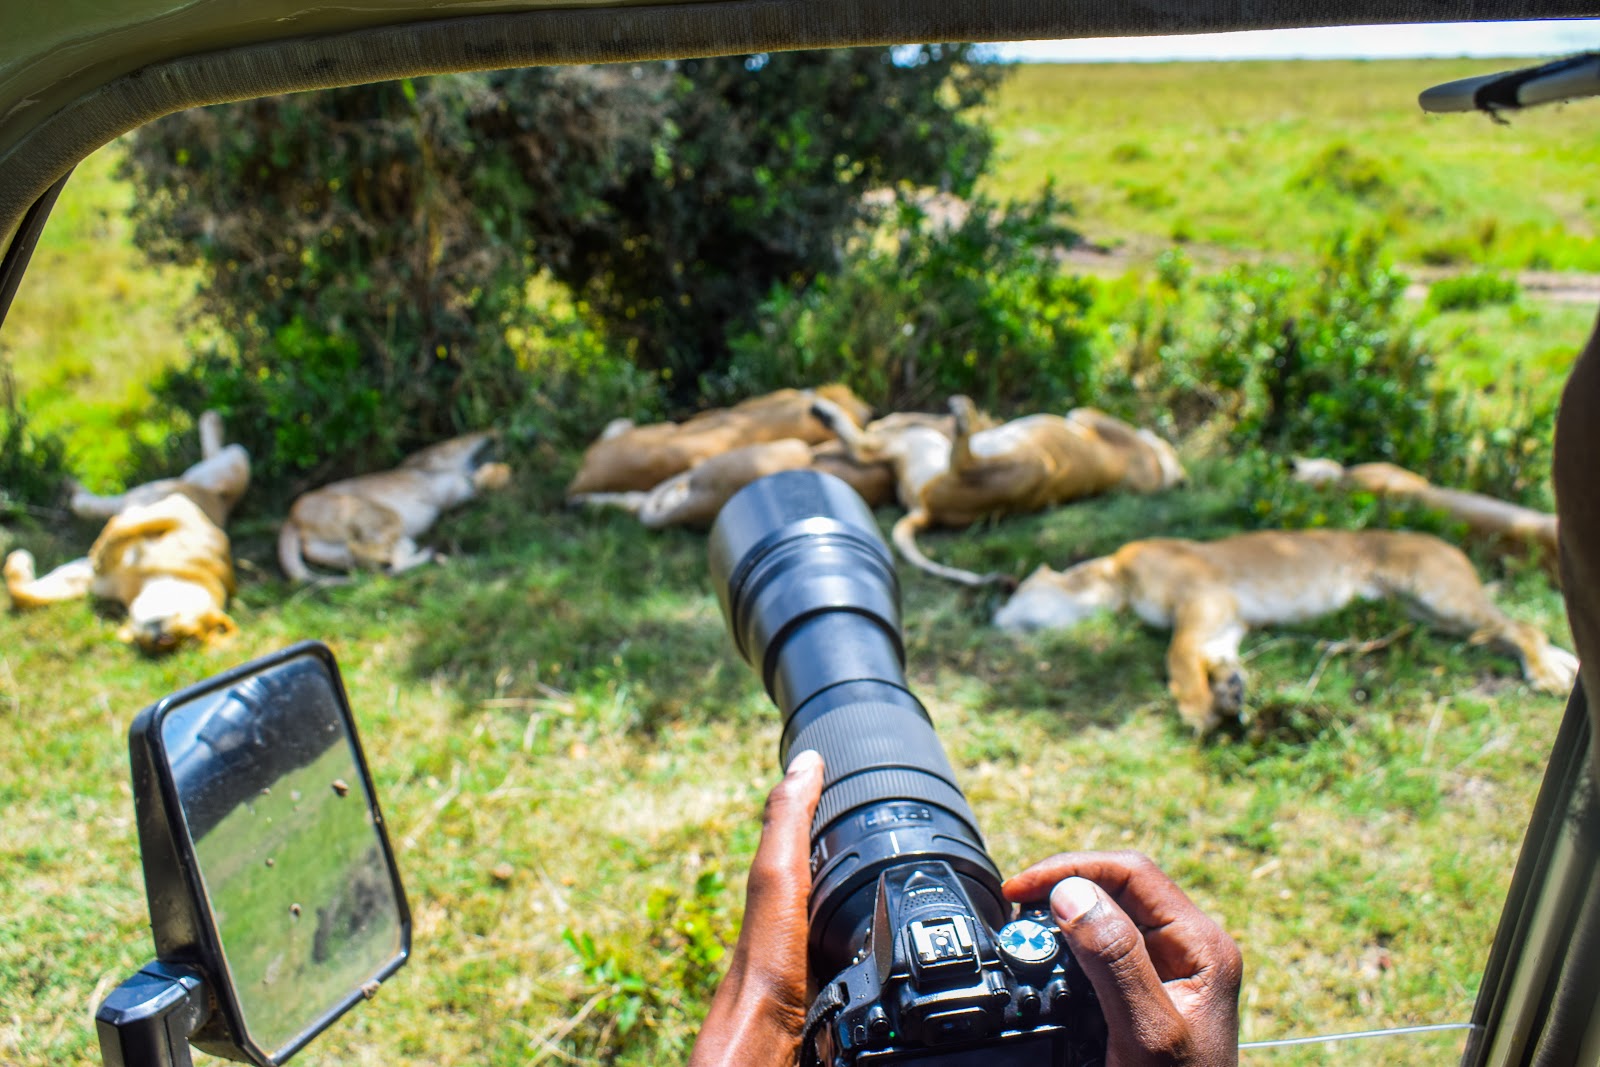
Vehicles matter: cut-out sides or roof hatches for low angles, beanbags over tripods for support, one photographer per row so nobody shoots over shoulders. The reserve’s 1,510 km² offers endless backgrounds — the skill is matching subject, angle and light before pressing anything.
The 5 Shots Every Mara Photographer Chases
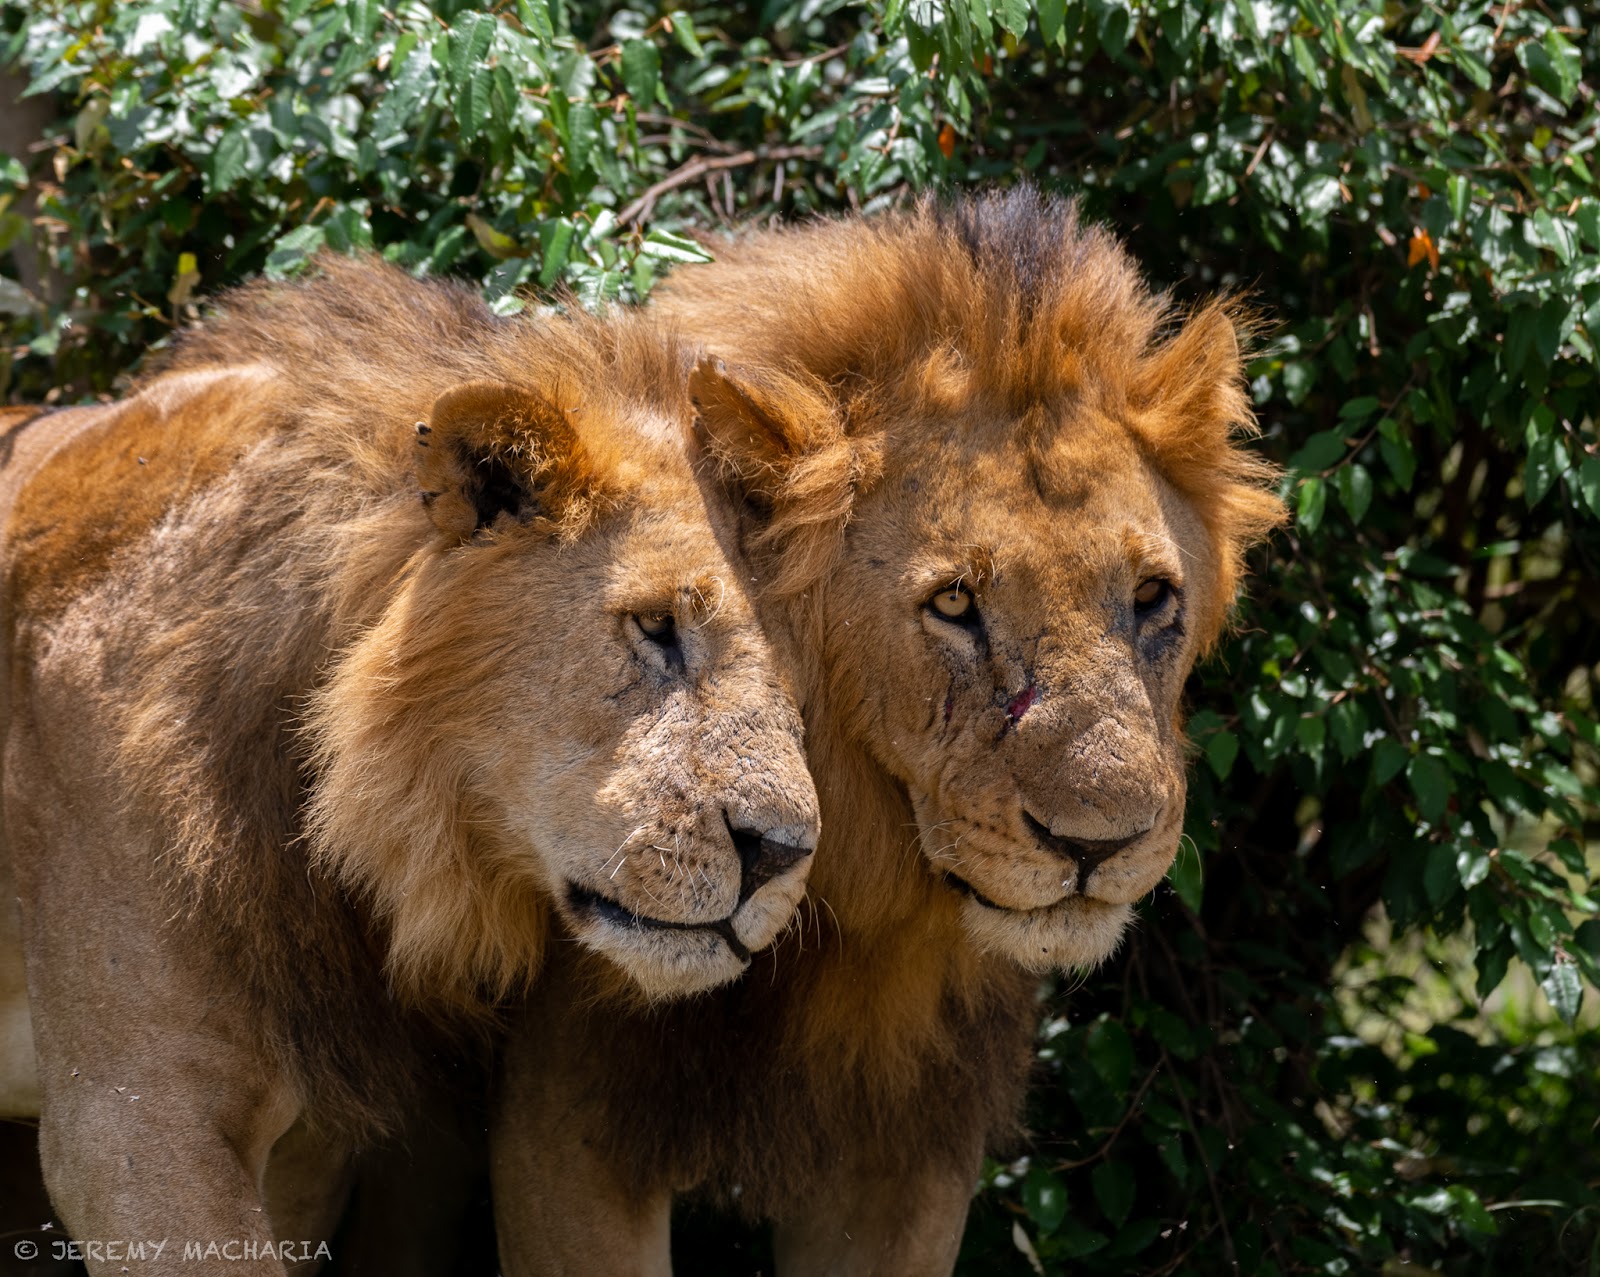
The Golden-Hour Portrait — low sun, catchlight, clean background
A lion face side-lit at 6:40 am with light in the eye is the Mara’s bread-and-butter masterpiece. Work at eye level from the lowest hatch, meter for the highlights and wait for the head turn. The classic recipe: 300-500 mm, wide open, ISO as low as the shutter allows, and a driver who has already put the sun behind your shoulder.
The Action Freeze — hunts, dust and airborne cats
For a cheetah sprint or wildebeest panic you need 1/2000s or faster, continuous autofocus, burst mode and — most of all — anticipation. Watch the prey, not the predator: their heads snap up before the charge. Keep both eyes open and leave room in the frame for the run. Missed frames are normal; the keeper pays for all of them.
The Storm-Light Landscape — the Mara as a stage
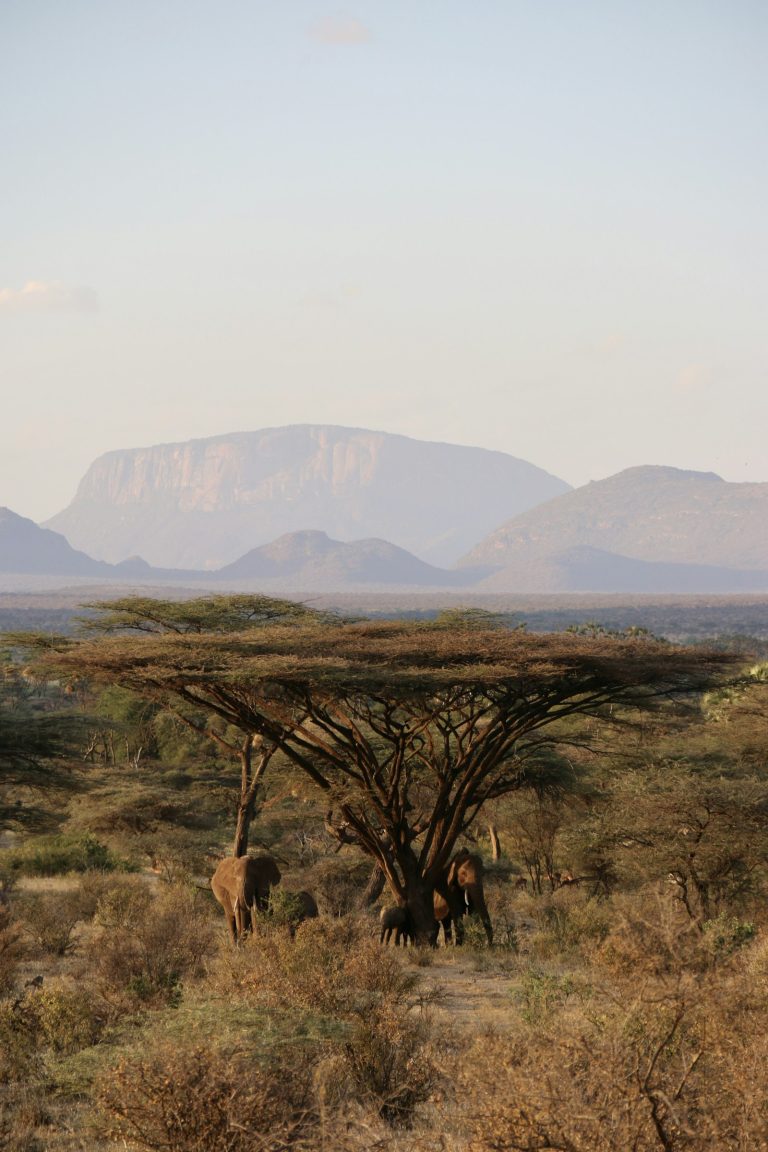
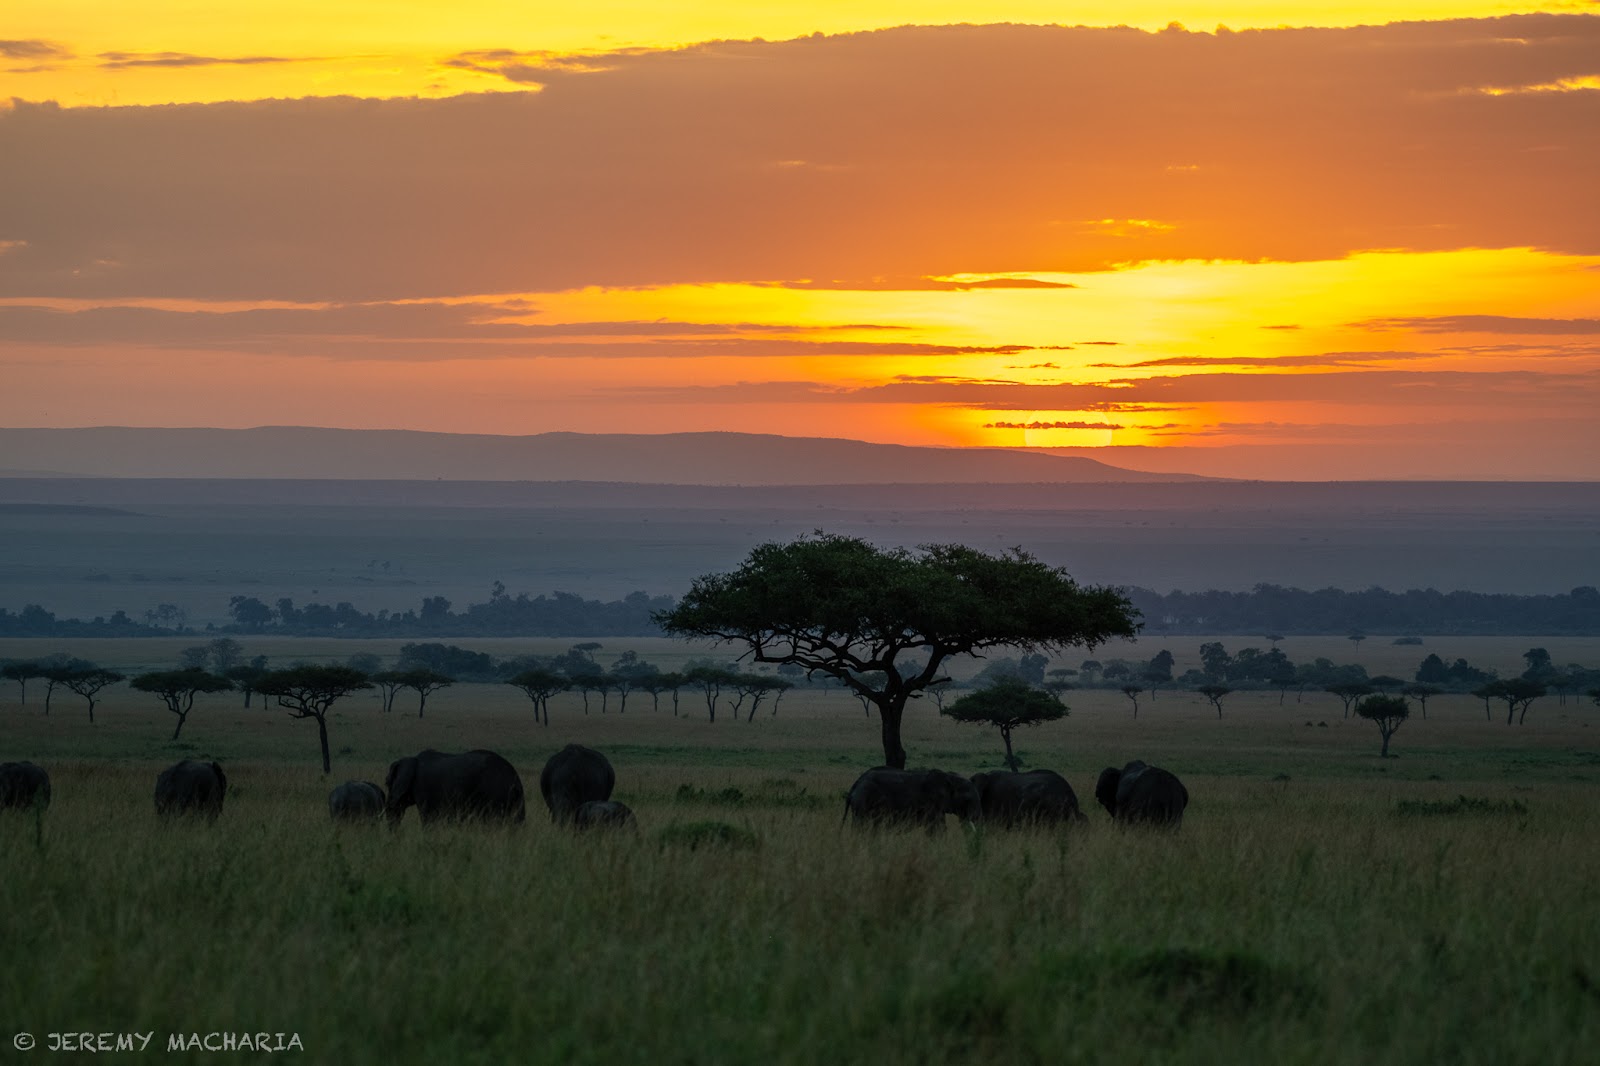
Green-season storm cells build charcoal walls behind sunlit foregrounds — some of the most dramatic natural lighting in Africa. Underexpose a stop, find a lone acacia or a red-shuka herder on a ridge, and shoot wide. These frames give a portfolio its sense of place between the tight wildlife shots.
The Crossing Chaos — July-October’s bucket-list frame
River crossings are photographed from fixed positions your driver claims early — sometimes hours early. Pre-focus on the far bank entry point, 1/1600s minimum for splash freeze, and resist chimping: crossings surge in waves and the best frame is usually the second wave’s leap. Patience at the right gap beats roaming between points.
The Environmental Wide-Angle — small cat, huge plain
The counter-intuitive Mara masterpiece: a tiny lion in an ocean of grass under a giant sky. Shoot 24-70 mm from a respectful distance, place the horizon on a third, and let the emptiness do the talking. It is the frame that makes viewers feel the scale everything else crops out.
Join a Photographic Departure
Small groups, one row per photographer, drivers who think in f-stops. See our dedicated photo safaris.
Mara Photography Facts & Settings Cheat-Sheet
- Golden windows: shoot hard 6:15-9:00 am and 4:30-6:45 pm; rest or travel through the 11 am-3 pm glare.
- Action settings: 1/2000s, f/5.6-f/8, auto-ISO capped at your camera’s comfort ceiling, continuous AF, burst.
- Portrait settings: 1/500s and wide open; drop shutter only when the cat truly sleeps.
- Support: a beanbag on the window sill or roof rail beats a tripod in every safari vehicle.
- Dust discipline: change lenses inside a bag, carry a rocket blower, and keep a body per lens if you own two.
- Drive etiquette: engines off at sightings, no calling for attention, and never pressure a driver to crowd an animal for a shot.
Masai Mara Photography Gear Checklist
You do not need the most expensive kit, but the right kit makes Masai Mara photography far easier. Bush flights have a soft-bag limit of about 15 kg, so pack carefully if you fly.
Lenses
- Telephoto zoom: a 100–400 mm, 150–600 mm or 200–600 mm covers most wildlife.
- Mid-range zoom: a 70–200 mm is ideal for close lions and animals beside the vehicle.
- Wide zoom: a 24–70 mm or 16–35 mm for landscapes, skies and environmental frames.
Accessories
- A beanbag: bring it empty and fill it with rice or beans in Kenya to save weight.
- Batteries and cards: at least three batteries and enough cards for 1,000+ frames a day in busy seasons.
- Backups: a laptop or portable drive to copy files every evening.
- Cleaning kit: a rocket blower, microfibre cloths and a rain cover.
- A head torch: for early starts and packing your gear in the dark before dawn drives.
- Charging: a car charger or USB cable; many safari vehicles have charging points, and camps charge gear at the main area or in your tent.
Best Masai Mara Photography Hotspots
Good guides know where the light and the animals come together. These areas reward Masai Mara photography again and again:
- The Mara River: crossing points between July and October, plus hippos and crocodiles all year. See our river-crossing guide.
- Musiara Marsh and the northern plains: lion prides, open grass and wide horizons for environmental frames.
- The Talek area: cheetahs and hyenas on the open plains, with good morning light.
- The Mara Triangle: fewer vehicles and the Oloololo Escarpment as a dramatic backdrop.
- The conservancies: off-road driving and night drives are allowed in most conservancies, which gives you more freedom to position for light. Read our guide to the reserve vs the conservancies.
Masai Mara Photography by Season
| Months | Best subjects | Light and conditions |
|---|---|---|
| July–October | River crossings, huge herds, predators on kills | Dry, dusty, golden grass; busiest at sightings |
| November–December | Big cats, green landscapes, birds | Storm skies, fresh colour, fewer vehicles |
| January–March | Cheetahs and lions on short grass, young animals | Mostly dry, clear light, good value |
| April–June | Moody landscapes, quiet sightings | Wettest months, soft overcast light, muddy tracks |
For a deeper look at the quiet months, read our guide to the Masai Mara green season, and compare the whole year in the best time to visit the Masai Mara.
Composition and Positioning Tips
Most great frames are decided before the animal arrives. Tell your guide what you want, and work together on the angle, the light and the background.
Think about the background first
A clean background of golden grass or soft green makes the subject stand out. Ask your driver to move a few metres to remove a distracting bush, another vehicle or a bright patch of sky. Wide apertures such as f/4 or f/5.6 blur what is left.
Get low and level
Eye-level shots feel more intimate than images taken from above. Shoot from the window rather than the roof when animals are close, and keep the horizon straight.
Leave space and wait for behaviour
Give moving animals room to walk into the frame. Then wait: a yawn, a look towards the camera, a cub climbing on its mother or a sudden stretch turns a record shot into a story. Patience is the cheapest upgrade in Masai Mara photography.
Protecting Your Gear From Dust and Weather
Dust is the biggest enemy of cameras in the dry months. Keep your camera in a bag or under a cloth between sightings, close windows when another vehicle passes and never change lenses in the wind. In the rains, carry a waterproof cover and a dry bag, and leave silica gel packs in your camera bag at night. Wipe the front of your lens before every drive.
Rules and Ethics for Masai Mara Photography
Great Masai Mara photography never comes at the animal’s expense. Inside the national reserve, vehicles must stay on the tracks and off-road driving is not allowed; at river crossings, vehicles must wait well back so the herds are not turned away. Never ask a driver to break the rules or crowd a sighting for a shot.
Drones are not permitted in Kenya’s national parks and reserves without special authorisation, so leave yours at home. Ask before photographing people, including Maasai herders, and follow the guidance of the Kenya Wildlife Service. Respectful photographers get better behaviour from the animals and better access from the guides.
Balloon and Aerial Masai Mara Photography
A sunrise balloon flight gives you the herds, rivers and plains from above, in soft early light. Use a mid-range zoom such as a 24–105 mm, set a shutter speed of at least 1/500s to counter movement, and keep a strap on your camera at all times. See our hot air balloon safari guide for what to expect. Flights usually last about an hour, end with a bush breakfast and can be added to most of our Mara packages, but book early in peak season.
Phone and Beginner Masai Mara Photography Tips
- Use the telephoto lens on your phone rather than digital zoom, which loses detail.
- Tap to focus and lower the exposure in bright light to keep colour in the sky.
- Brace against the vehicle and hold your breath as you press the shutter.
- Shoot video too: a short clip of a lion yawning often tells the story better than a still.
- Clean the lens: phone lenses pick up dust and fingerprints quickly, so wipe them before every sighting.
- Put the camera down sometimes: the best memories are not always on a memory card.
Photographic Safaris We Run in the Mara
Dedicated shooters should compare the 6-day Photographic Safari, the predator-focused Big Cats Photographic Safari and the Migration Photographic Safari for crossing season. Our general safari photography tips article covers gear checklists for the whole of Kenya.
Masai Mara Photography Safari Costs
Photo-focused trips cost more than standard safaris because they use private vehicles with space for gear and longer hours in the field. Current starting prices include:
- 3-Day Masai Mara Safari — from USD 650 per person, a good first taste.
- Great Migration Photographic Safari (5 days) — from USD 2,400 per person.
- Big Cats Photographic Safari (6 days) — from USD 2,600 per person.
Compare every option on our Masai Mara safari packages page. A private Kenya safari gives you a vehicle to yourself, so you decide how long to stay at each sighting. Before travelling, apply for your eTA on the official eTA Kenya portal and find more inspiration on Magical Kenya.
Your Portfolio Frame Is Out There
Golden light happens twice a day, every day. Book the vehicle that puts you in it.
Frequently Asked Questions
What camera gear do I need for Masai Mara photography?
For Masai Mara photography bring the longest lens you can manage (300-500 mm ideal), a second body or mid-zoom (70-200 mm) for environmental shots, a beanbag for support, spare batteries, plenty of cards and a dust blower. A phone plus one long zoom bridge camera also produces great results — fieldcraft matters more than gear.
What is the best time of day for photography in the Masai Mara?
The best Masai Mara photography light runs roughly 6:15-9:00 am and 4:30-6:45 pm, when low equatorial sun gives warm side-light and catchlights in animals’ eyes. Photo-focused drives leave camp before dawn to be parked at sightings when the light peaks.
Do I need a tripod on a Masai Mara safari?
No — a beanbag is far more practical for Masai Mara photography. Rested on a window sill or roof hatch it stabilises long lenses instantly and lets you swing between sides. Tripods don’t fit safari vehicles; a monopod is the most anyone carries.
Which camera settings freeze a cheetah hunt in the Mara?
For Masai Mara action photography use 1/2000s or faster, continuous autofocus, burst mode and auto-ISO. Watch the prey animals — their alarm tells you the chase is coming before the cheetah moves. Pre-frame the likely run line and keep both eyes open.
Is the green season good for Masai Mara photography?
The green season (November-May) is arguably the best time for Masai Mara photography: storm-cloud backdrops, saturated emerald grass, newborn animals, active predators and almost no vehicles at sightings. Many professional photographers deliberately choose these quieter months.
Can I fly a drone for Masai Mara photography?
No, not without special authorisation. Drones are not permitted in Kenya’s national parks and reserves for normal visitors, and flying one can lead to it being confiscated. For aerial Masai Mara photography, a sunrise hot air balloon flight is the legal and far more memorable option.
How many days do I need for Masai Mara photography?
Plan at least four full days for serious Masai Mara photography, and six if you can. Light, weather and animal behaviour change daily, so more time means more chances of a great hunt, a perfect sunrise or a river crossing. Three days is enough for a first visit with lots of good images.
Is a private vehicle worth it for Masai Mara photography?
Yes, for keen photographers. A private vehicle lets you choose when to leave camp, how long to stay at each sighting and where to position for the light, without compromising with other guests. It also gives you room for gear and a window seat on both sides of the vehicle.